
Why You Should Make Cured Salmon at Home
Homemade cured salmon (gravlax) is one of the easiest and most delicious ways to prepare fish without any unnecessary additives. In just 24 hours, you’ll have a perfectly tender and flavorful dish that works beautifully as an appetizer, breakfast option, or healthy snack. This recipe is beginner-friendly and delivers restaurant-quality results every time.
Cured salmon is not only incredibly вкусно, but also highly nutritious.
Salmon is rich in omega-3 fatty acids, which support heart health, improve skin condition, and benefit brain function. Proper curing helps preserve all these nutrients without the need for artificial ingredients or preservatives.
This recipe is perfect for:
— holiday gatherings (especially Christmas and New Year’s);
— healthy eating;
— quick and nutritious snacks.
How Salt Works: Osmosis and Diffusion
To understand how curing works, it helps to know two simple processes: osmosis and diffusion. These are responsible for how salt spreads evenly through the fish.
Osmosis is the movement of water through cell membranes. When you add salt, it draws moisture out of the fish, helping to firm up the texture and intensify the flavor.
Diffusion is the gradual movement of salt into the fish. Over time, the salt spreads from the surface into the inner layers until it is evenly distributed.
If you look at a piece of salmon about 20 minutes after salting, you’ll notice that the salt crystals start to dissolve and disappear. At this stage, the fish is only seasoned on the outside. But as time passes, the salt penetrates deeper, resulting in evenly cured salmon throughout.
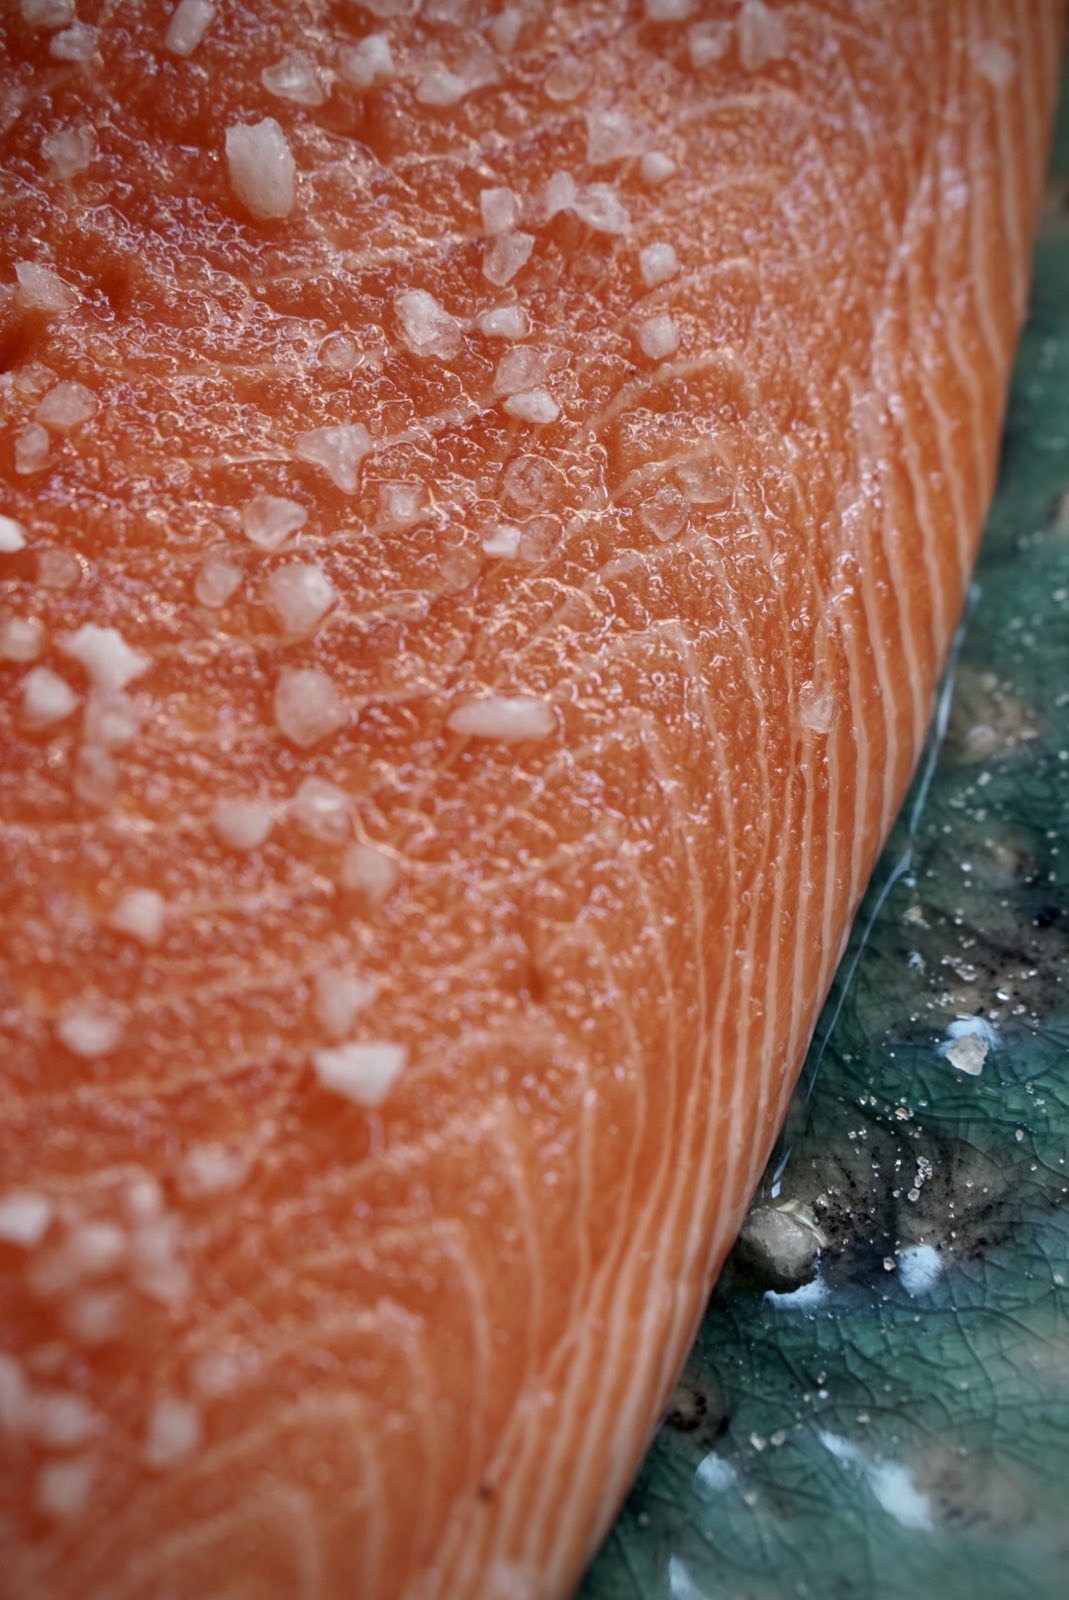
You’ll also notice moisture appearing on the surface of the fish — this is a result of osmosis. As the salt gradually moves inward, water is drawn out, helping to balance the concentration and achieve even curing throughout the fish.
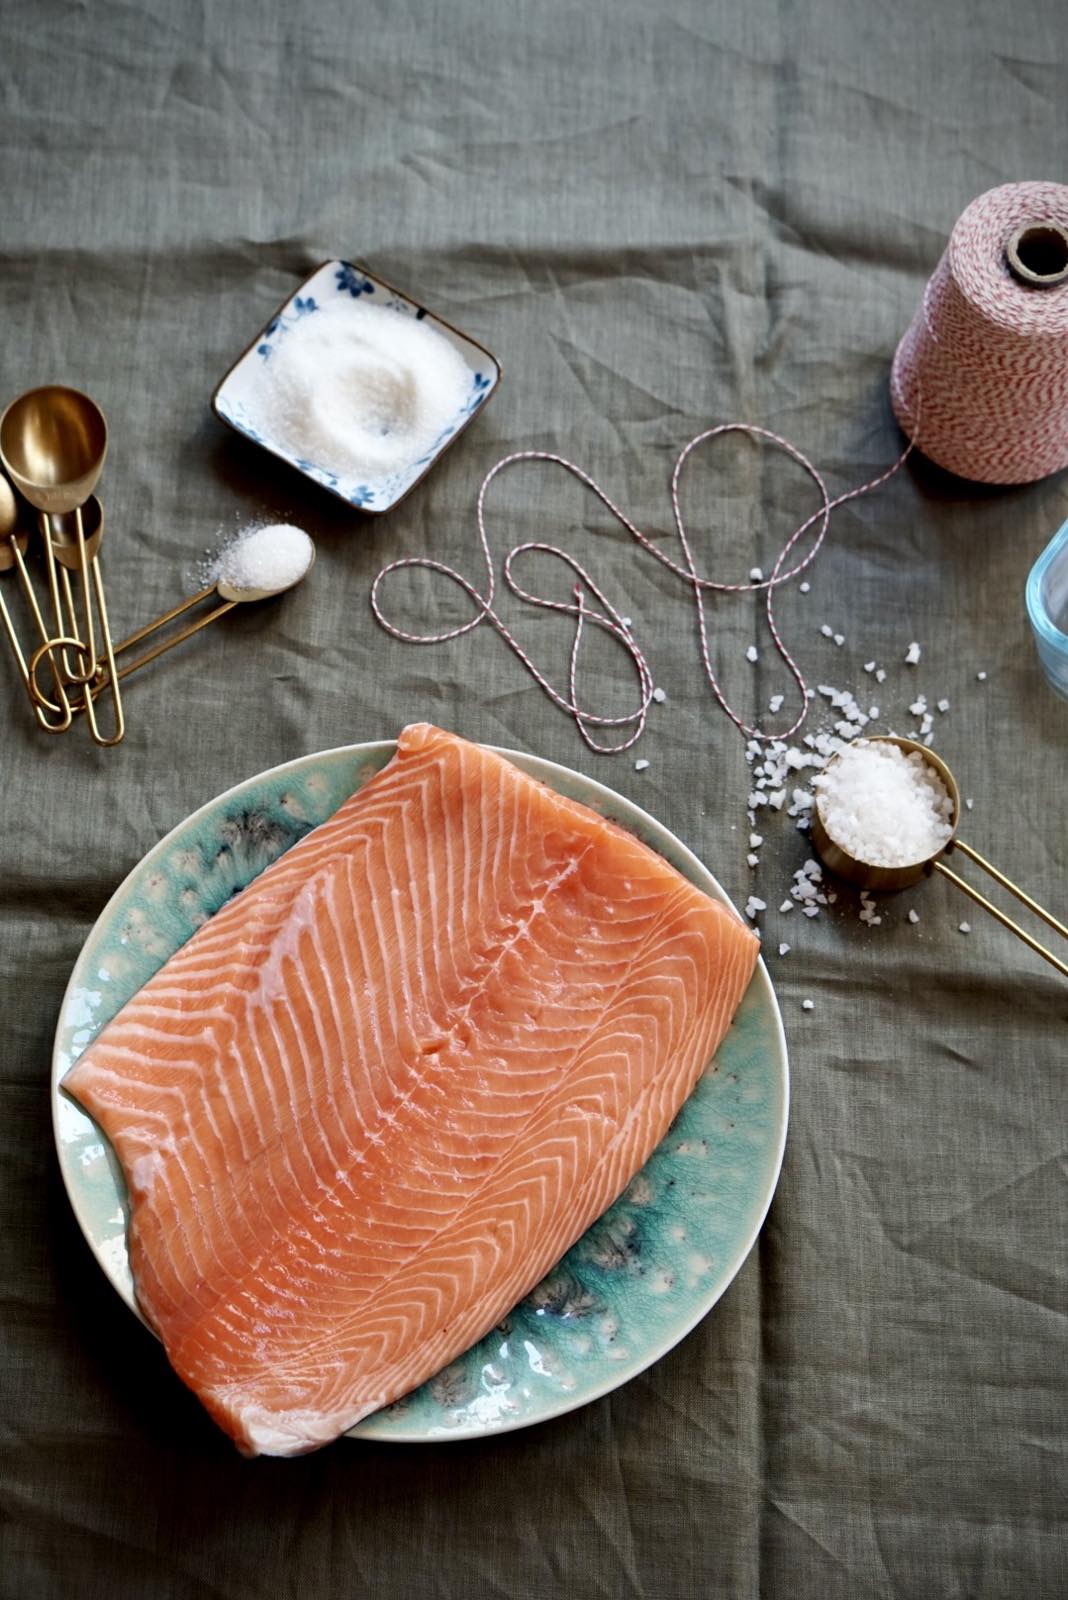
INGREDIENTS
1–1.3 kg salmon fillet
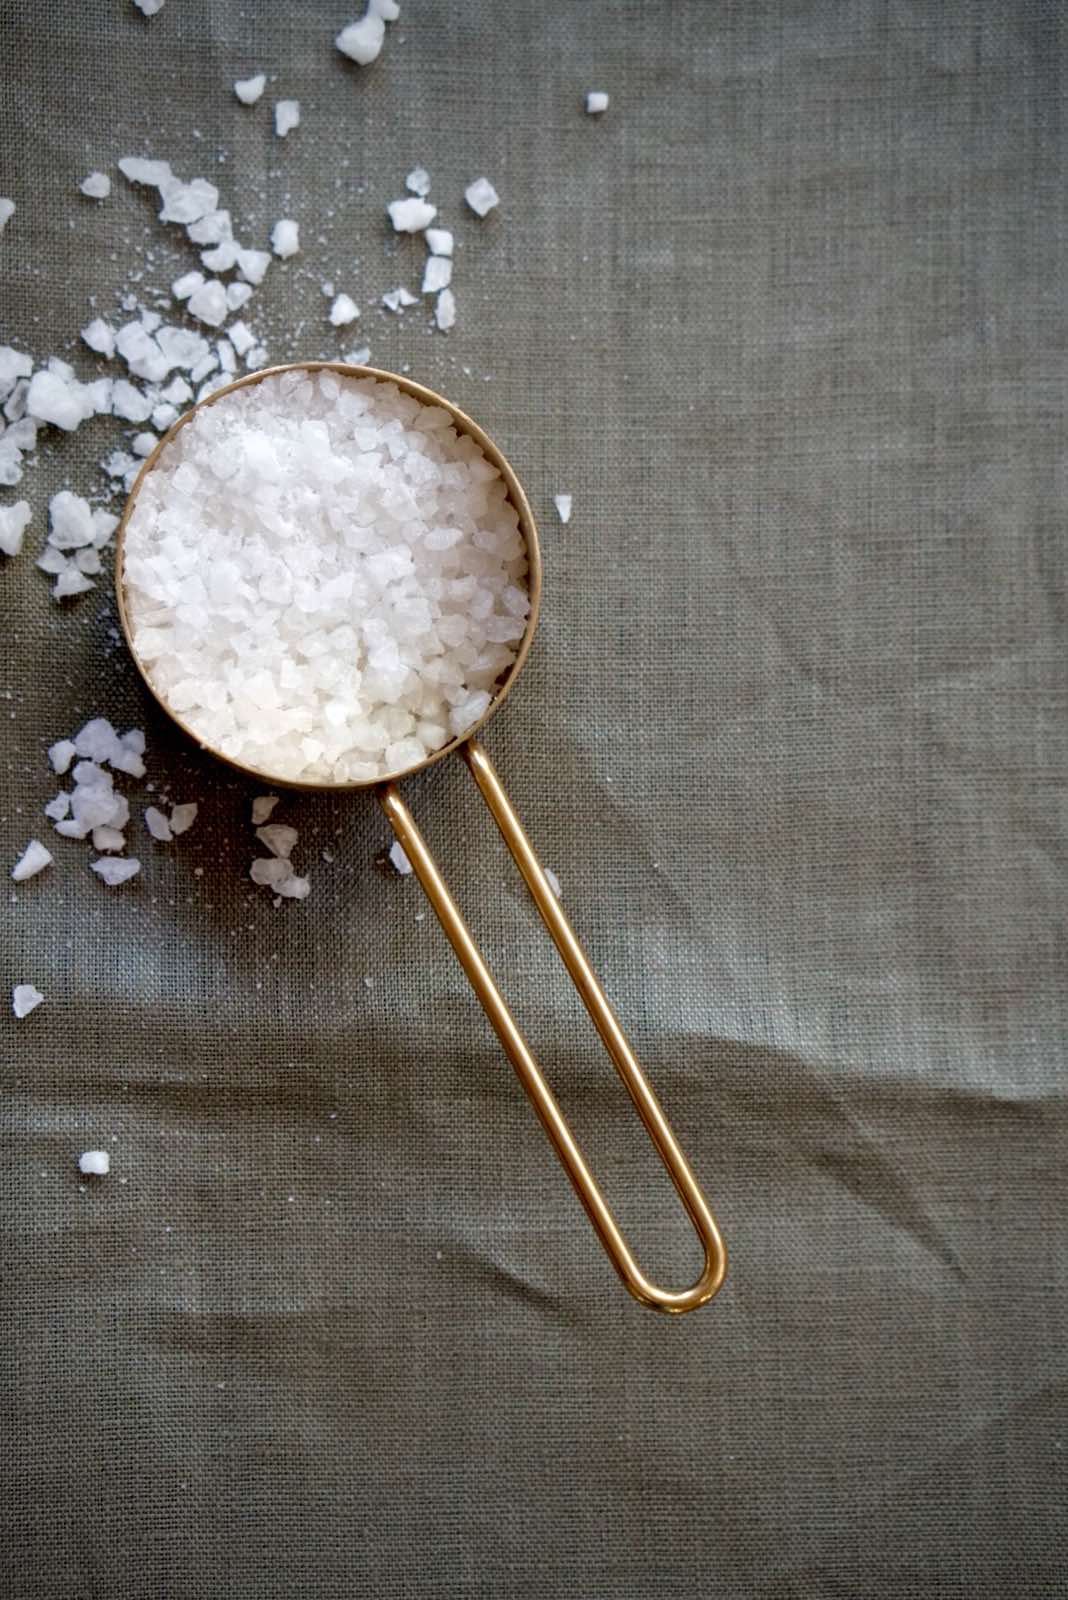
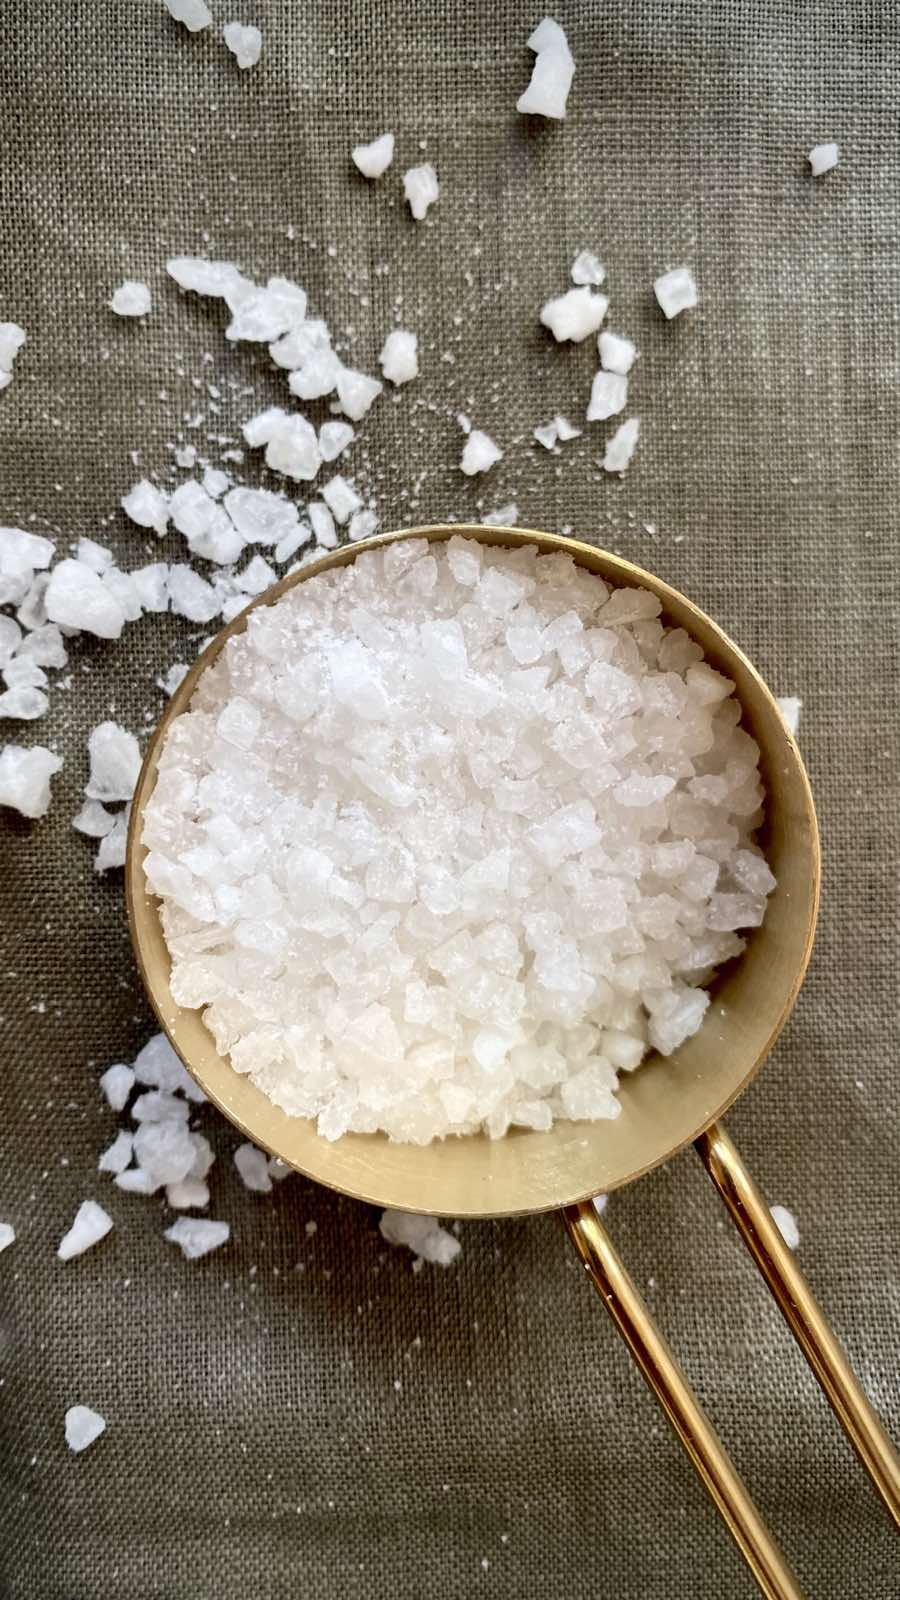
2 tablespoons coarse salt
1 tablespoon sugar
STEP-BY-STEP SALMON RECIPE
1. Rinse the salmon under cold water and pat it dry with paper towels.
2. Sprinkle the salt and sugar over the fish and rub it evenly on all sides.
3. Lightly coat the bottom of the container with the salt and sugar mixture, then place the salmon inside.

4. Cover the container with plastic wrap and refrigerate for 12–16 hours.
5. Remove the wrap and drain any liquid that has formed.
6. Transfer the salmon to the freezer for 24 hours.
7. Take out the cured salmon and slice thinly before serving.
Tips for the Perfect Result
For a more refined, restaurant-style flavor, add a little lemon zest or drizzle with olive oil just before serving.
How to Store Cured Salmon
Proper storage is essential to keep your cured salmon fresh, flavorful, and safe to eat.
In the refrigerator:
Store the salmon in an airtight container or tightly wrapped in plastic wrap. The ideal temperature is between 0°C and 4°C (32–39°F). It will stay fresh for up to 3–4 days.
In the freezer:
To extend shelf life, you can freeze the salmon. Slice it into portions, wrap tightly, or place in a freezer bag. It can be stored for up to 1 month without losing flavor.
Important:
Do not store the fish uncovered, as it can absorb odors and lose its quality.
Tip:
Before serving, let the salmon sit at room temperature for 10–15 minutes — this enhances its flavor and texture.